Share This:
In the past 12 years of teaching, 5 as a reading specialist, I’ve changed how I organize my groups. A LOT. Today, I want to share the system I have finally settled on that makes my groups run as smoothly as possible. And look friends, this isn’t going to be pretty. You know I don’t do cutesy, and let’s face it those things fall apart after the first 9 weeks. So cutesy it will not be, but effective it will.
When thinking about organizing materials, I almost want them to fade into the background. I don’t want us to think “oh where did I put that?’ or spend valuable instructional time organizing ourselves. Every system I put into place is there for efficiency and to save us time. I store everything on a long table behind me (you could also use a shelf or cart) and grab from there.

Let’s start with the most simple and essential material—pencils. Please stop expecting children to bring pencils to group. It just causes frustration for everyone and lost instructional time. Get a pencil box, sharpen 15-20 pencils a day, and just move on. There’s no point wasting time over a pencil. In my pencil box, I also keep a date stamp and stamp pad. Whenever we write our ABCS or complete a new interactive notepage it gets a date stamp. You can of course have the children write the date, but this is faster and it’s one small thing the children love getting to do.
I keep pencils on the table in a pencil box, but other basic supplies I keep in a dollar store caddy. Since I don’t use them every single day, I want them close by, but they don’t have to stay with me on the table. These materials include dry erase markers and erasers, glue sticks, scissors, and highlighters.
For manipulatives, I keep the most often used nearby. In a photo storage box, I keep reading fingers, finger flashlight, double-sided chips, magnetic chips, and stacking cubes. These are always close by in case my students need that additional scaffold, or if I just see engagement waning. I have other manipulatives in cubbies in my classroom. I keep the most-used nearby, with everything else somewhere it can be easily found.

Each of my groups has a box with their student materials in it. When I grab a group, I put their box of materials on my table. Each group is labeled with a number, so I just grab their numbered box. Inside those boxes I keep their dictation notebooks, phonics notebooks, decodable folders, and any other materials we might be using that week (games, etc.)
Each student has several items. First, a dictation notebook. This is simply a composition book where we write our ABCS and dictated words/sentences. Our decodable folders are full of the controlled texts we use for daily practice. Lastly, we have phonics notebooks. I find that spiral-bound notebooks are often donated to schools, but that many teachers don’t use them. I use spiral-bound notebooks because they are easily found in my school, but composition books work just as well! I only put phonics notepages in our phonics notebooks—I don’t want to muddy up our work with extra writings and things. Each of the student materials has a single clear purpose.

This is the first year I’ve had a projector as a reading specialist. In the past, my salmon/white decks and review decks were all physical copies. When I used physical copies of these things, they lived in the boxes for each group. Now that I have a projector, I have files saved on my computer.
Each group has a file on my computer (Group 1, Group 2, etc.). Within that file are two documents (so far). Each group has a review deck and a salmon/white deck. I update both of these a couple of times a week to reflect the new skills I have taught students.
For materials that are physical copies, but don’t need to be used right now, I use that relic known as a file cabinet. In my file cabinet, I have folders that are labeled according to skill. So the folder might be labeled “CVC: a” or “Vowel Teams: ai and ay.” Within that folder are any group materials I might need to use. It includes things like fluency grids, board games, and Elkonin boxes. When I am getting ready to teach a new skill, I can easily go to that folder and see what I need.
As you read this, don’t get overwhelmed. I know I’ve said a lot and linked a lot, but I wanted to put the resources out there for whenever you are ready! Remember, it’s taken me years to find a system that works for me. Maybe you just want to take one or two ideas and implement. It could be as easy as making sure you have pencils sharpened or having boxes for each of your groups. Try to implement one system this week that will make your life easier and save you instructional time.
Share This:

Savannah Campbell is a K-5 reading specialist. She has taught her entire 12-year teaching career at the school she went to as a child. She holds two master’s degrees in education from the College of William and Mary. Savannah is both Orton-Gillingham and LETRS trained. Her greatest hope in life is to allow all children to live the life they want by helping them to become literate individuals.

Savannah Campbell is a K-5 reading specialist. She has taught her entire 12-year teaching career at the school she went to as a child. She holds two master’s degrees in education from the College of William and Mary. Savannah is both Orton-Gillingham and LETRS trained. Her greatest hope in life is to allow all children to live the life they want by helping them to become literate individuals.
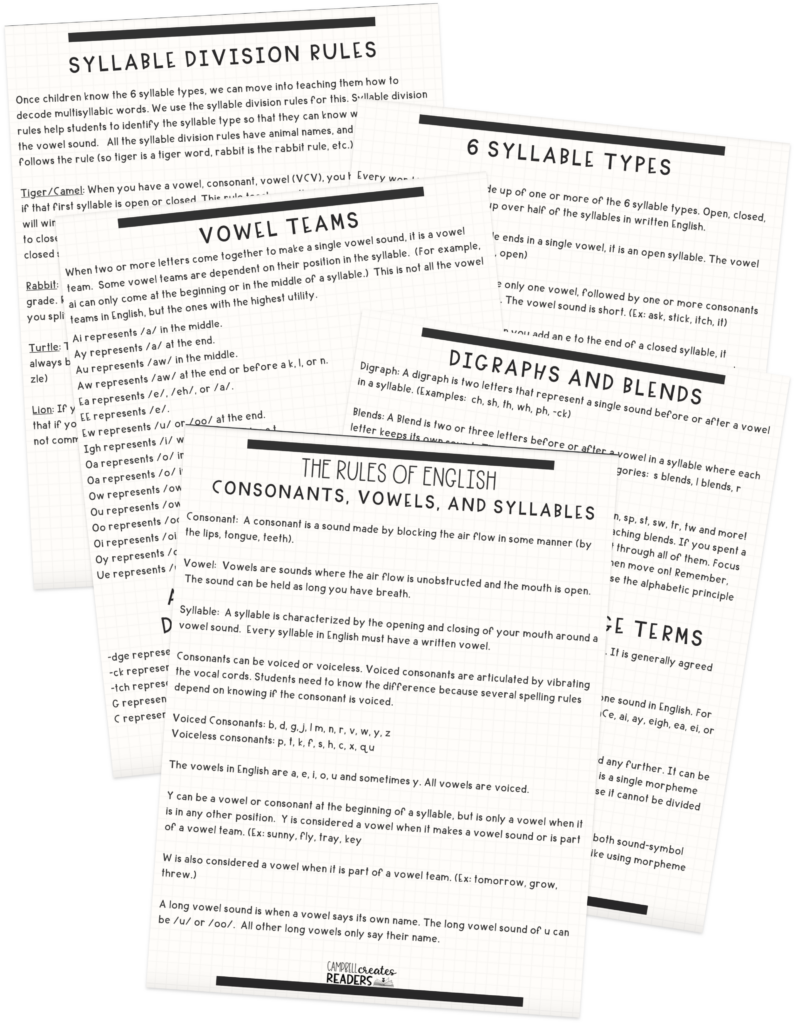
Feeling overwhelmed with all the terminology out there? Want to know the key terms all teachers need to teach phonics? In this FREE Rules of English cheat sheet, you get a 5 page pdf that takes you through the most important terms for understanding English—you’ll learn about digraphs, blends, syllable types, syllable divisions, and move. Grab today and take the stress out of your phonics prep!
